
What Is Member Management?
Before a team member can be assigned a line or access Linq Zero, they need to be part of your organization. The Member Management section in Linq Zero is where Admins invite new members, view existing ones, and remove them when needed.
Note: Adding a new member will increase the seat count on your subscription. Make sure your plan supports additional seats before inviting someone new.
Before You Start
Make sure you have:
- An active Linq Blue subscription
- Admin access to Linq Zero
- The email address of the person you want to add
Member Roles in Linq Zero
There are two roles in Linq Zero:
Role What They Can Do Admin Invite and remove members, assign lines, manage organization settings Member Use their assigned line to send/receive messages and calls
How to Add a Member
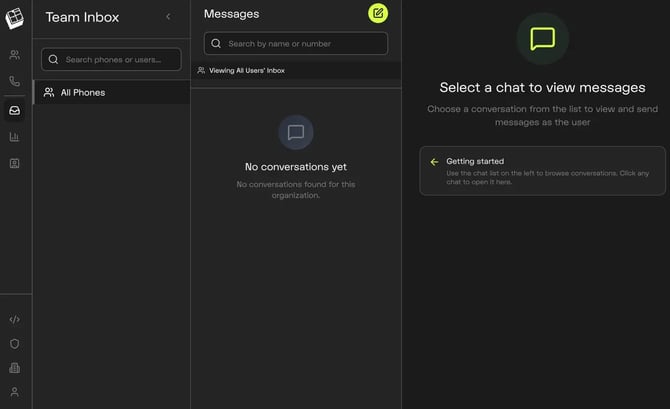
Step 1 — Go to the Organization Section
-
The panel is labeled Organization — People & phones and contains two options:
- Phone Number Mapping
- Member Management
Select Member Management.
Step 2 — Review Your Current Members
The Members screen shows a table with all existing members of your organization. Each row displays:
- Name — the member's display name
- Email — their account email address
- Member Phone Number — the line assigned to them (shows a dash if none is assigned yet)
You'll also see a trash icon on the right of each row to remove a member if needed.

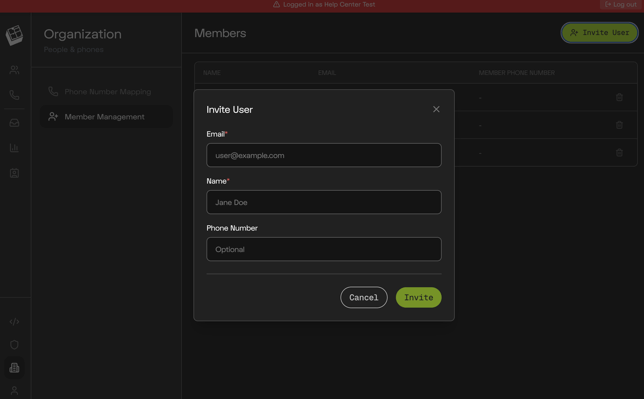
Step 3 — Click "Invite User"
In the top-right corner of the Members screen, click the Invite User button (bright green, with a person+ icon).
A form will appear asking for the new member's information — at minimum their email address. Fill in the required details and submit.
What Happens Next?
Once the member is added to your organization, you can:
- Assign them a line through Organization → Phone Number Mapping
- See them appear as an option when assigning or reassigning numbers
- Remove them at any time by clicking the trash icon next to their name in the Members table
Things to Keep in Mind
- Each new member added increases your subscription's seat count. If you're at your plan's limit, you may need to upgrade before adding more members.
- Only Admins can invite or remove members.
- A member without an assigned line will show a dash (—) under Member Phone Number in the table. Assign them a line through Phone Number Mapping after they've accepted the invite.
- If you need to remove a member, click the trash icon next to their row. Removing a member does not automatically unassign their line — go to Phone Number Mapping to reassign or free up that number.